- In this walkthrough we will learn How-to add a Javascript alert message to a Form. We'll accomplish that via adding a Web Resource to the Form. A Web Resource is a file that is stored in the CRM, and can be HTML, CSS, JAVASCRIPT, Silverlight or a picture file.
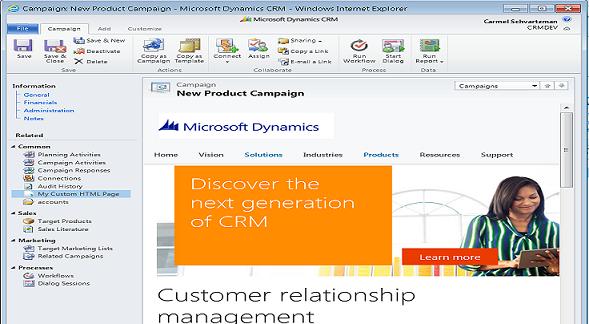
We'll add a Web Resource to the Campaigns form, to open an alert message box when changing a field value. This is an snapshot of what we'll create: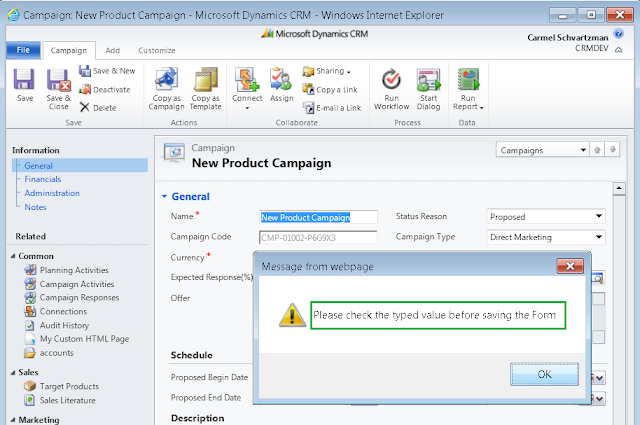
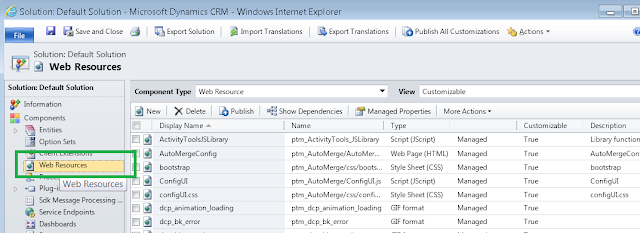
- In Customize the System go to "Web Resources":
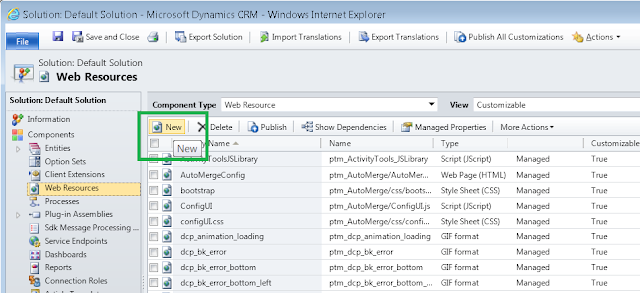
- There click on New:
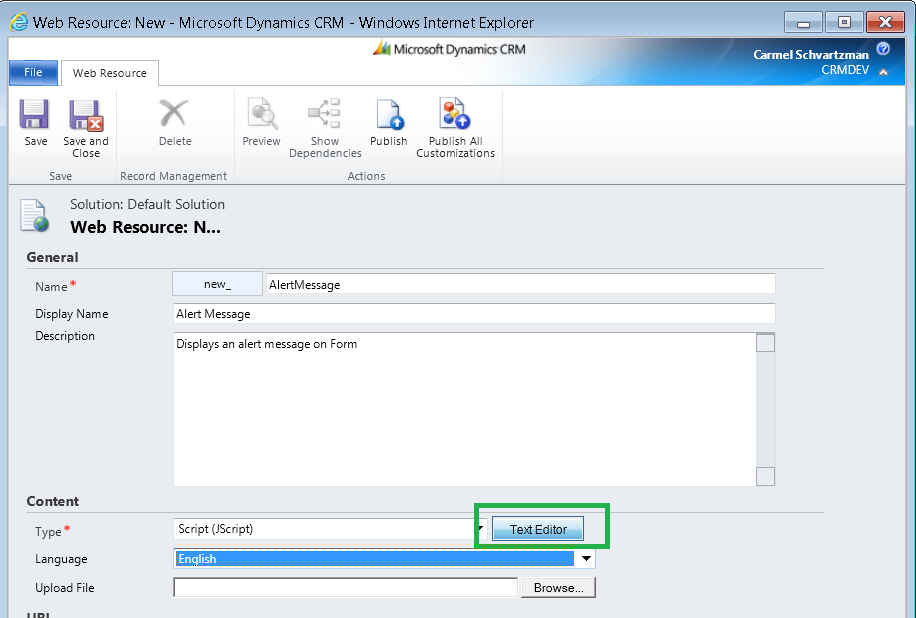
- On the dialog that opens, type a relevant Name and Display Name to the new Web Resource:
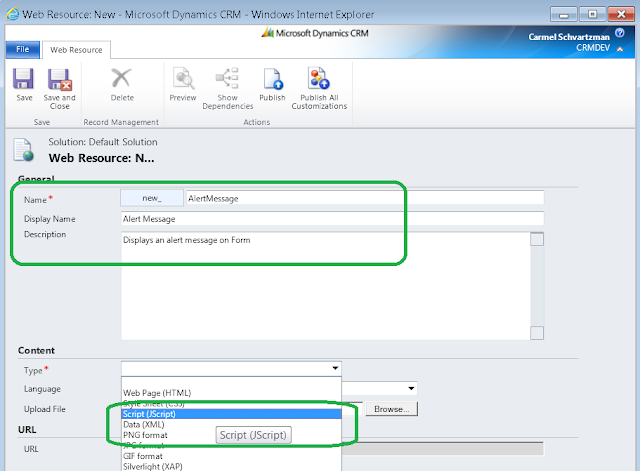
The Type of the file will be "Script" in our case, so select it from the list. - Notice that we could use the "Upload file" option, for large script files. In our case, we'll use the Text Editor option:
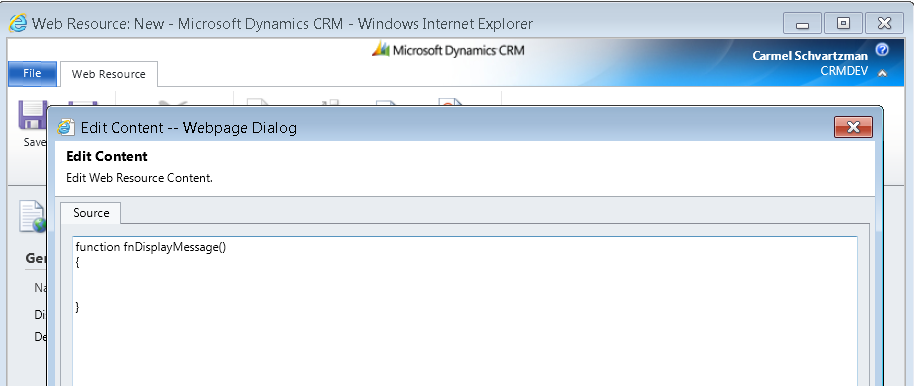
- Type the following code for a javascript function definition:
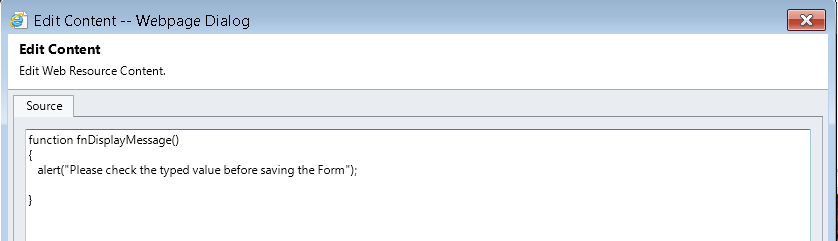
- Now type this code to display an alert window :
- After you save the function, you'll notice that a new URL have been added to the Web Resource dialog. Is the url of the resource, and if you double click it, you could open the saved resource and check it:

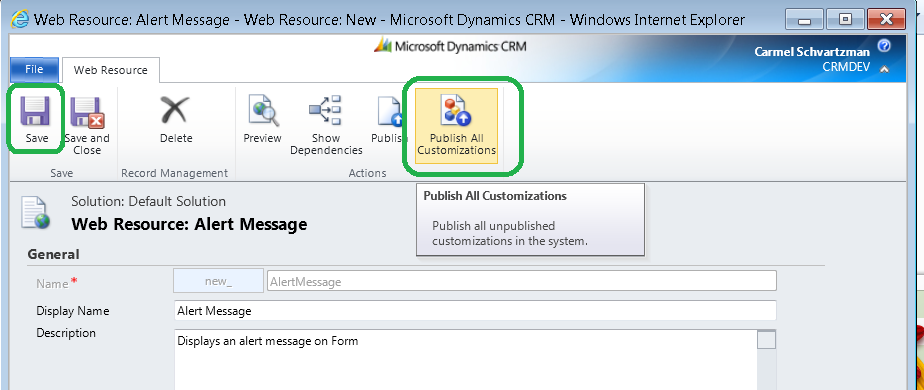
- Save the Web Resource and don't forget to Publish it:
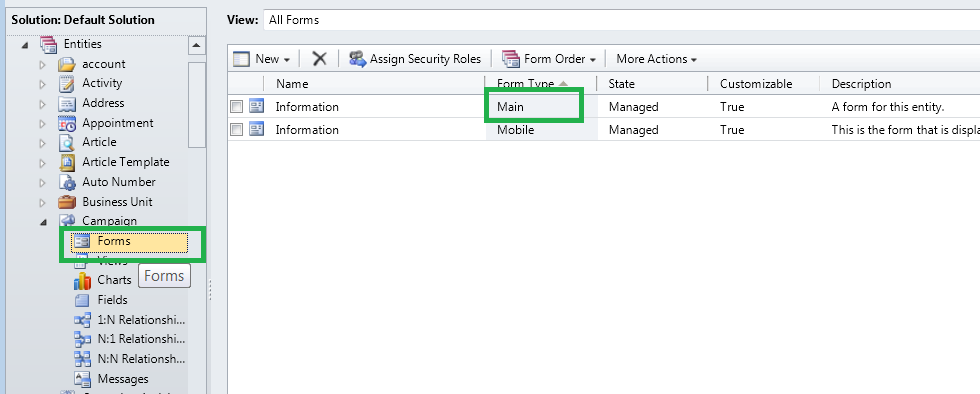
- Now we can add the Web Resource to a CRM form. Select the form entity you want to add it:
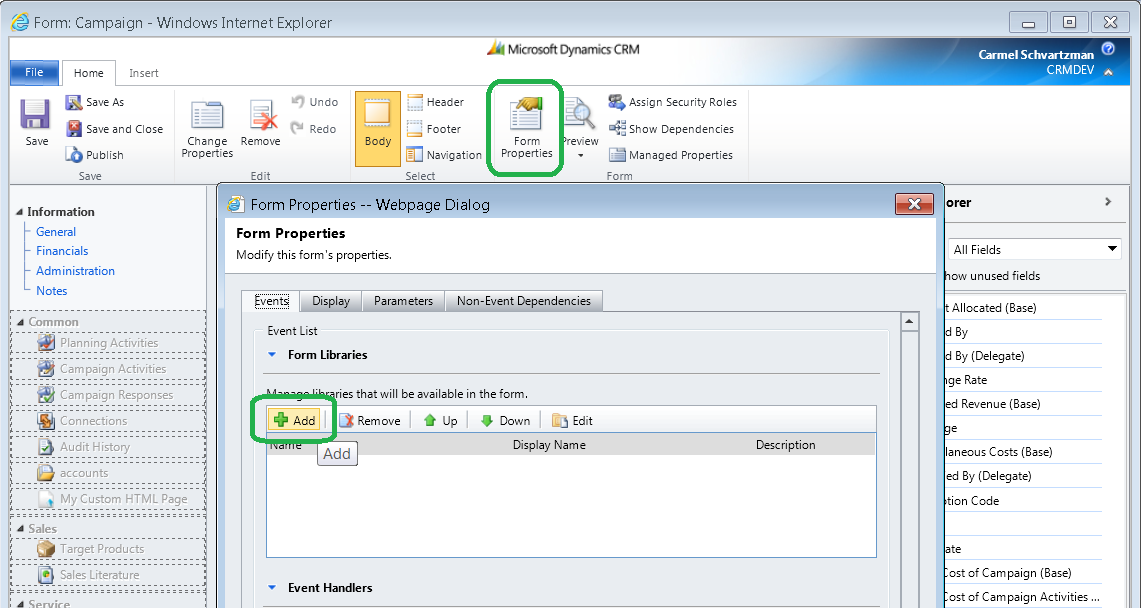
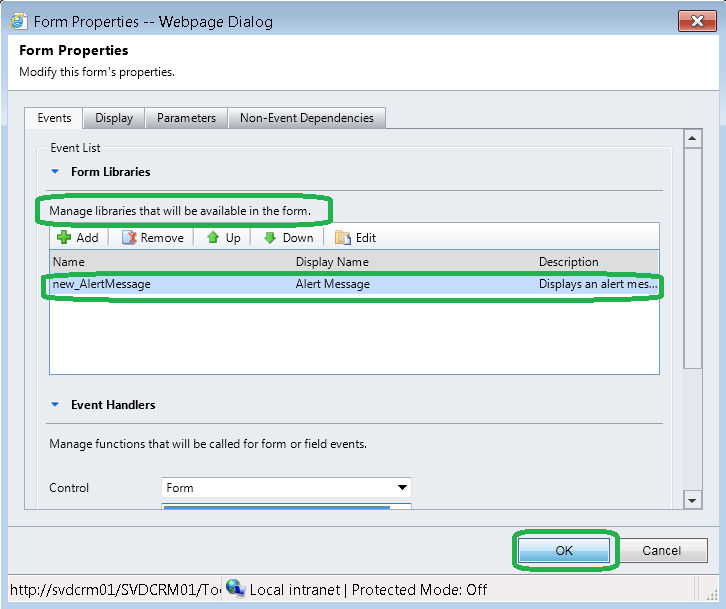
- On the Main Form, open the Form Properties, and click on the ADD libraries:
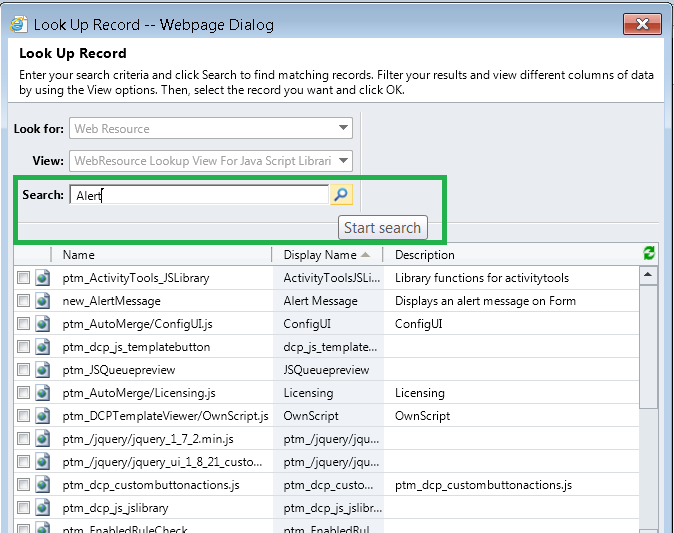
- There can be a lot of files, so look for our resource, using the Search box:
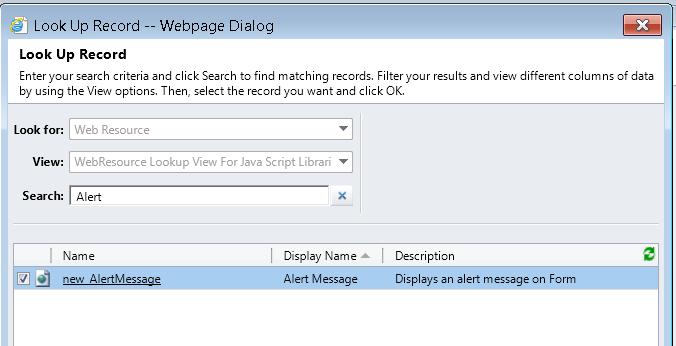
- When you find the resource, click OK:
- You have just added the resource to the CRM Form, making it available for use:
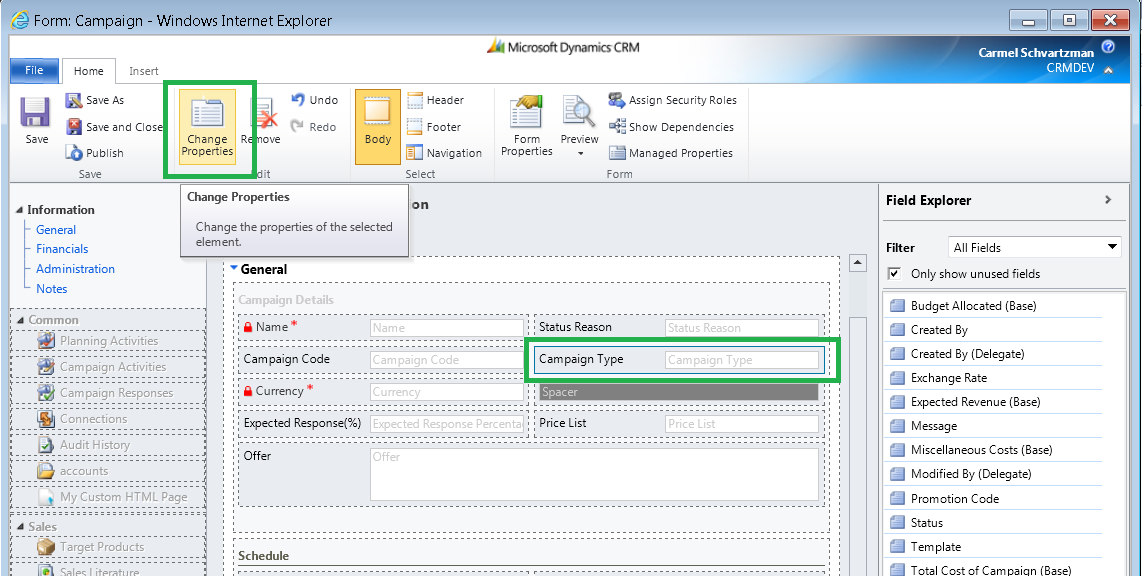
- Because we want to display a message on the CRM Form, when a field has changed, select the field, the Campaign Type, for example, which is an option list. We want that when the user change the selected value, a warning message alerts her/him to double-check the selection. Therefore, the ONCHANGE event will fit us for that goal. Select the field and click on Change Properties:
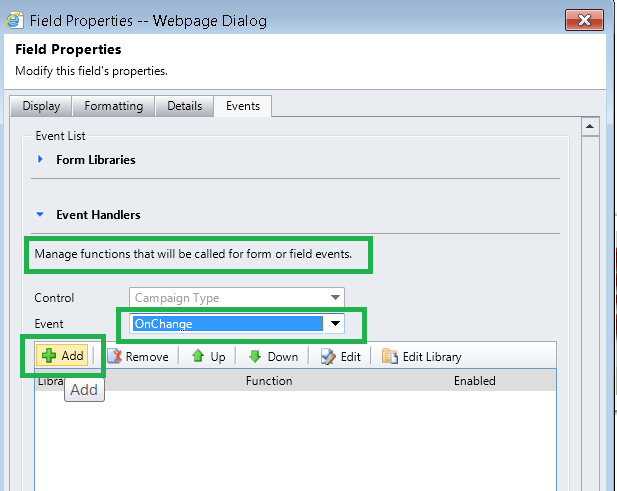
- On the "Evenst" tab, select the OnChange option and click "ADD":
- When the OnChange Event Handler dialog opens, select the Library that holds aour function, and type the function's name. Then click OK:
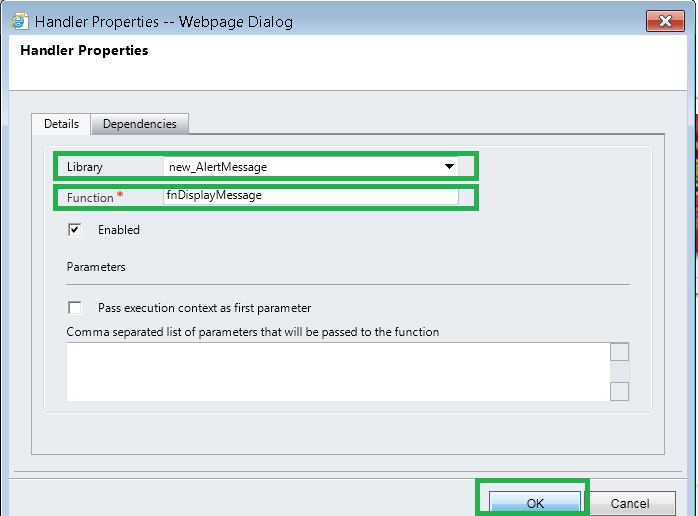
- Notice that the Event Handler has been added to the OnChange handlers list:
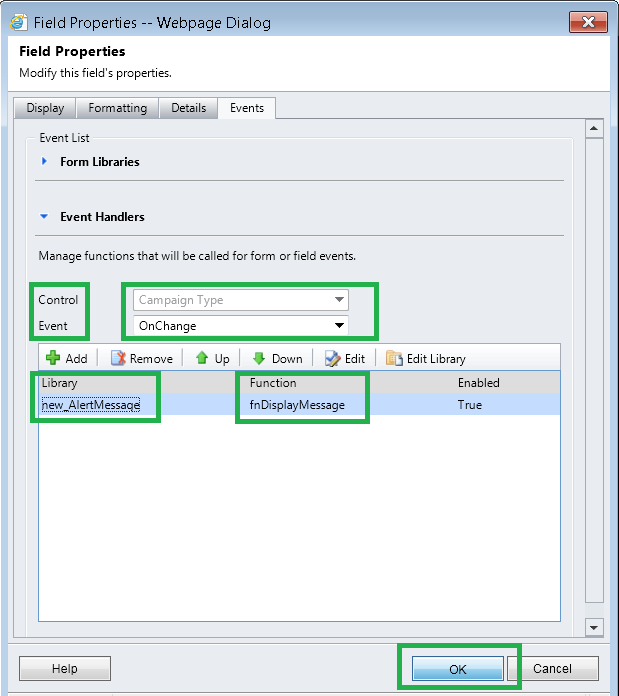
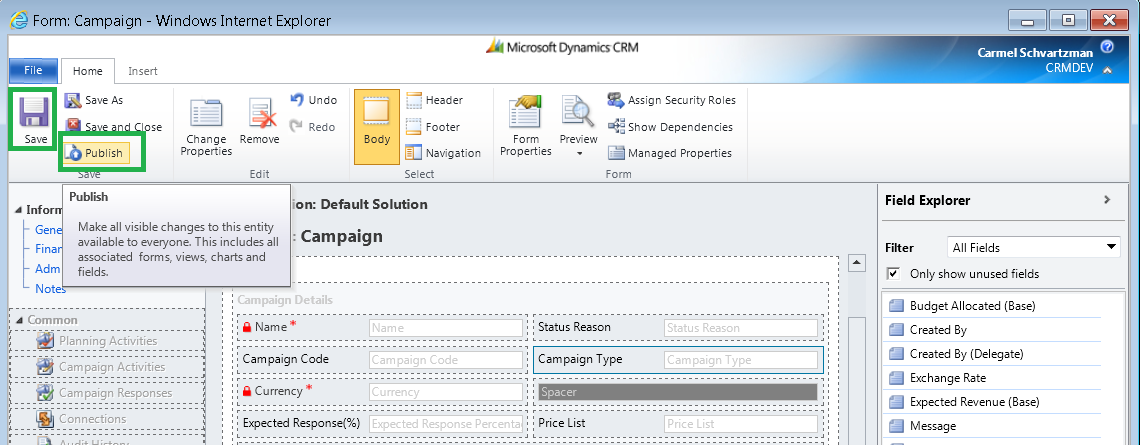
Click OK to save the dialog. - Save the CRM Form and don't forget to Publish it:
- Now lets check how it works. Go to the Workspace, and then to Campaigns. Open a Campaign, and change the Campaign Type:
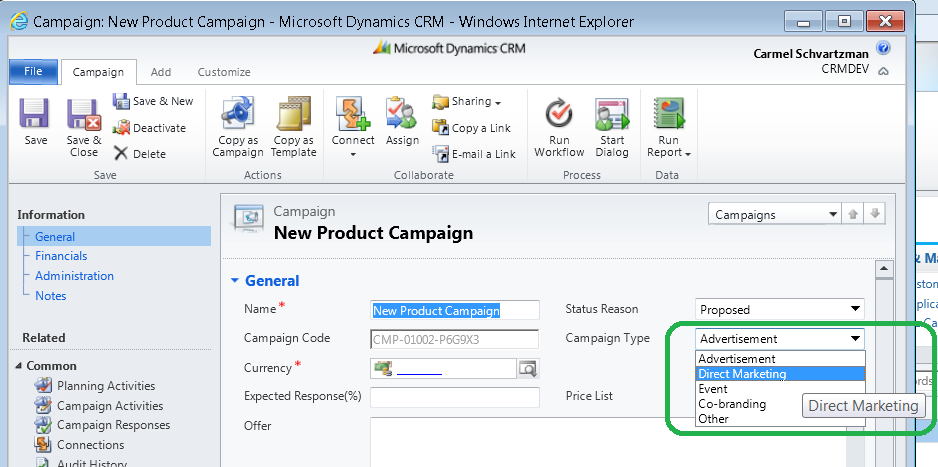
- After changed, the message is displayed:

In this tutorial we learned adding a Javascript alert to a Form . That's All...Enjoy CRM!!!כתב: כרמל שוורצמן
Microsoft Dynamics CRM 2011
Tuesday, September 17, 2013
Step-By-Step adding a Javascript alert to a Form
by Carmel Schvartzman


Subscribe to:
Post Comments (Atom)
No comments:
Post a Comment