by Carmel Schvartzman
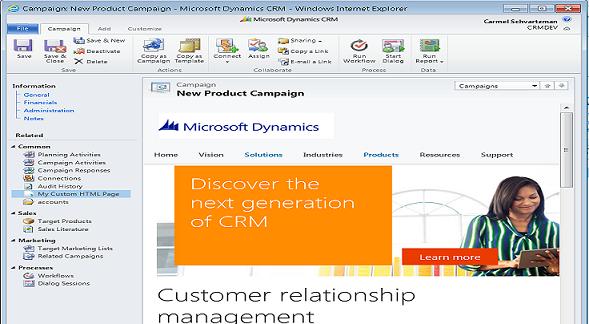
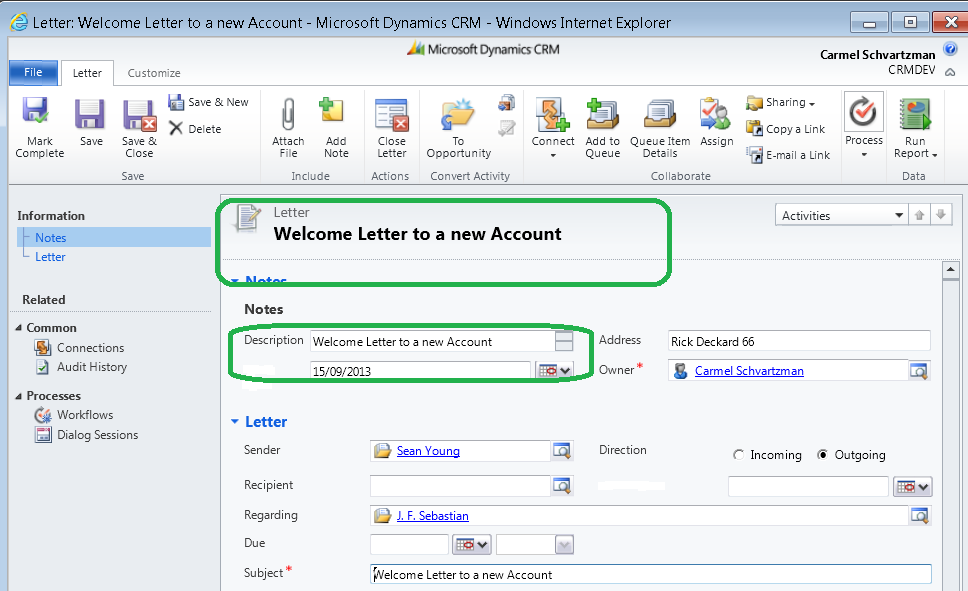
- In this walkthrough we will learn Step-By-Step how to create an On Demand Workflow in Dynamics CRM 2011. A Workflow is a custom process which runs in the application background and whose aim is to automatize bussiness and processes tasks , and is built on successive steps. After its creation, a Workflow can be triggered by entities creation, assignament or deletion, by changes on the entity, and even can be called on demand. For Example, we can use a Workflow to make a Letter each time the user wants to issue one. This is the created Letter, built by the OnDemand Workflow, and appended to an Account:

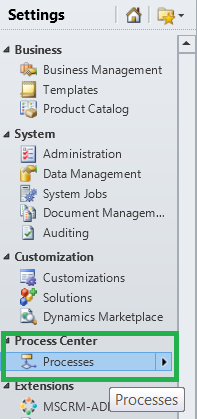
- To create the new Workflow, go to Customize the System, and then to Processes:
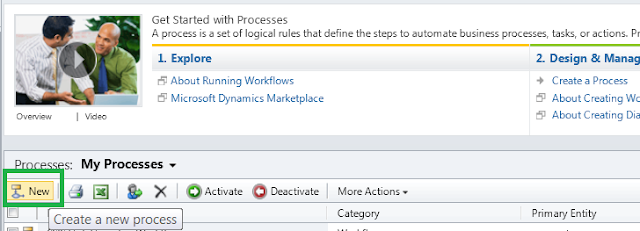
- Click on the New button:
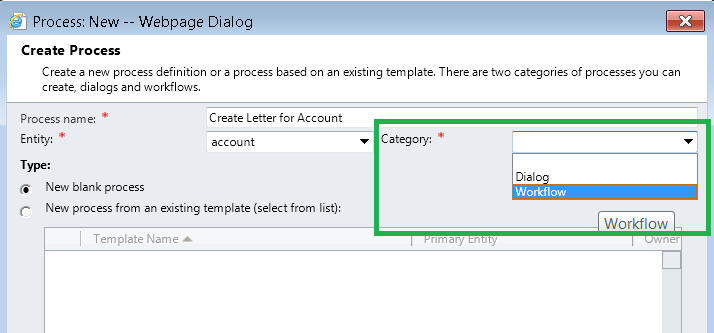
- Next, type a relevant Process Name and select the Entity you want the Workflow apply to:
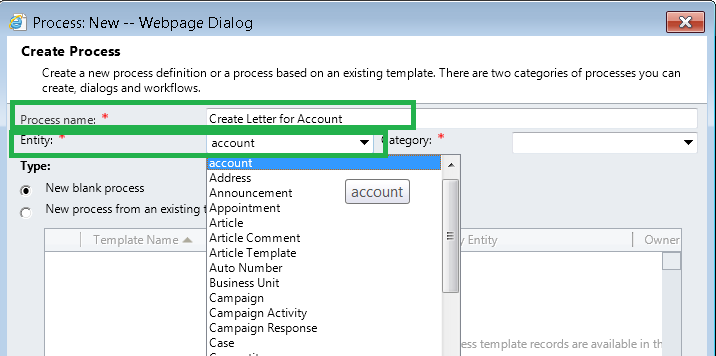
In our case, the Entity is Account. - Next, select the Workflow category:
- Next, because we want that the workflow will be run when it is demanded to run, check the "On Demand" field:
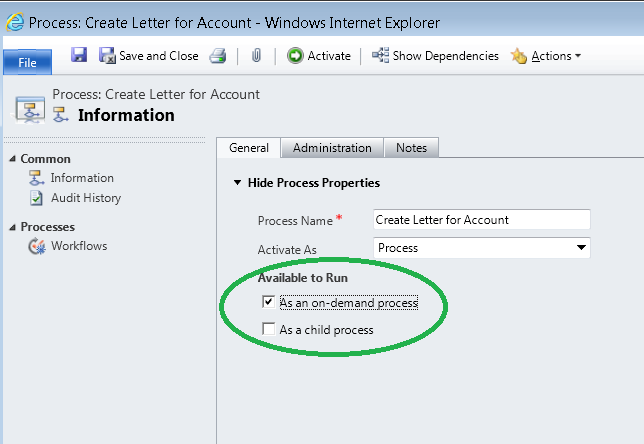
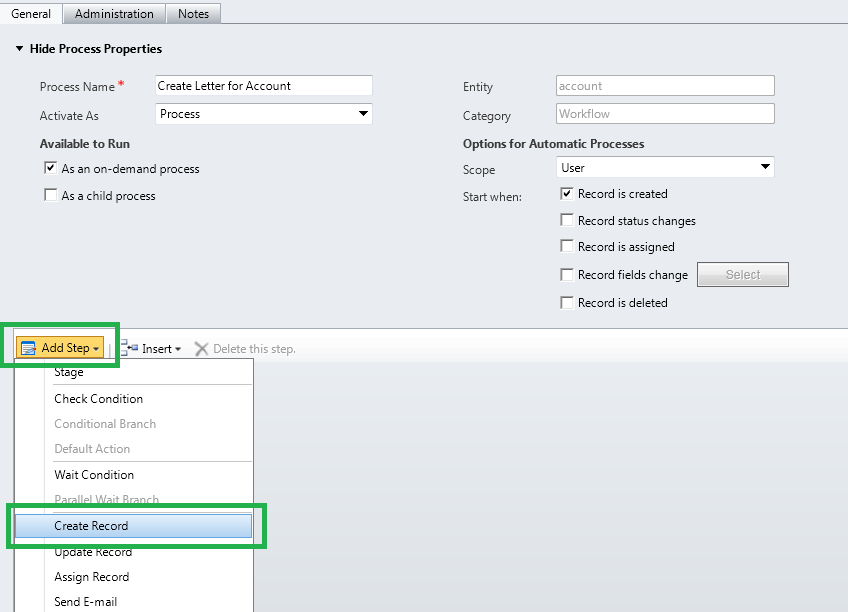
Notice that you can also choose to run the Workflow when the record is deleted, or reassigned, when its status changes , or when some field is updated. - Now we will add steps to the workflow. To create a Letter on demand, let's select "Create Record":
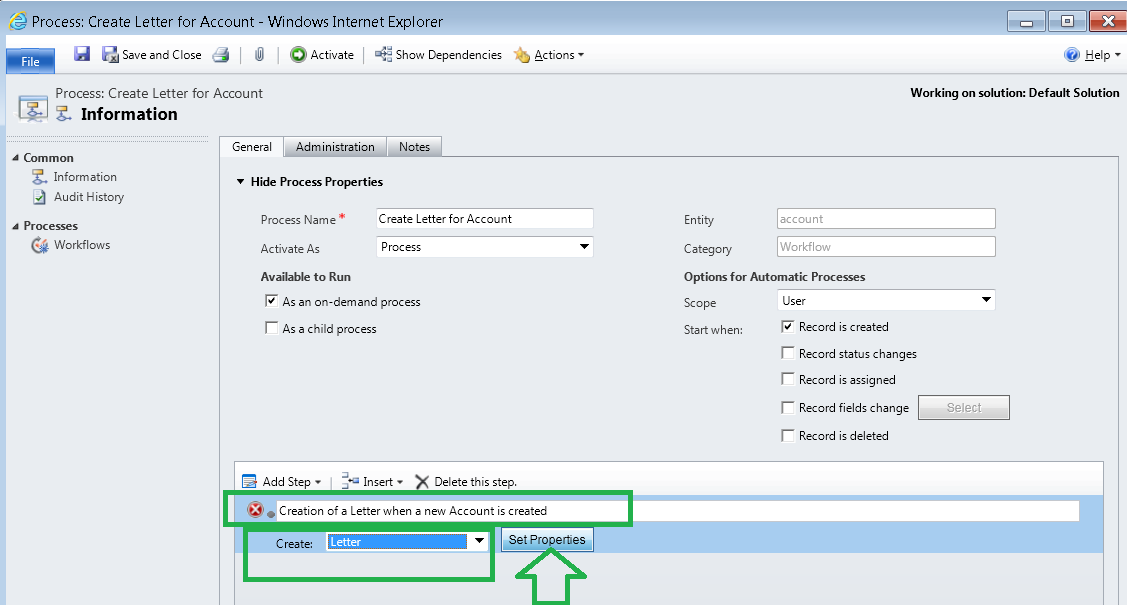
- Type a description for the Step, and go to "Set Properties" in order to design the Letter:
- Now you can design what you want the Letter to be, for example, let's type a Subject and also select the Sender of the Letter. Next, add some Description and the Letter's Date:
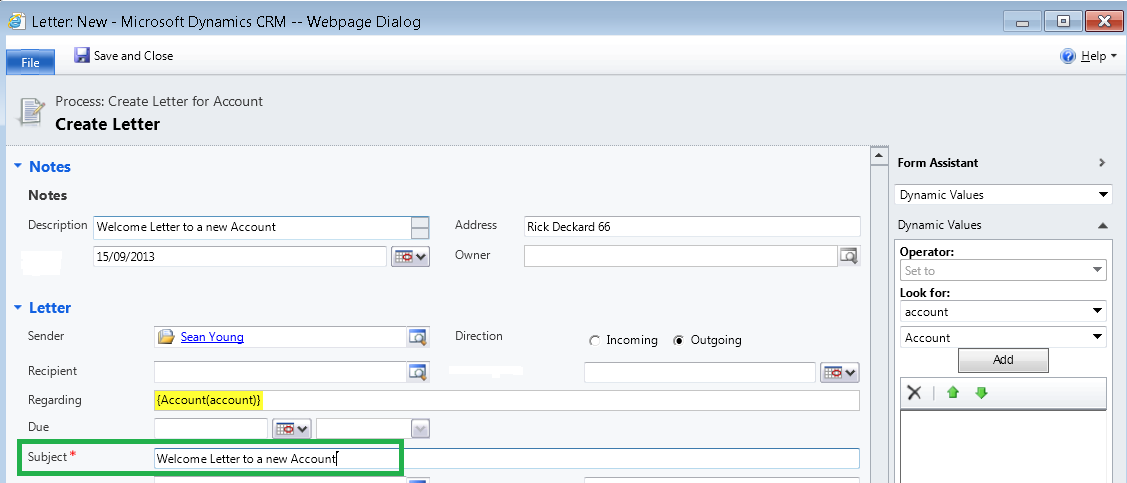
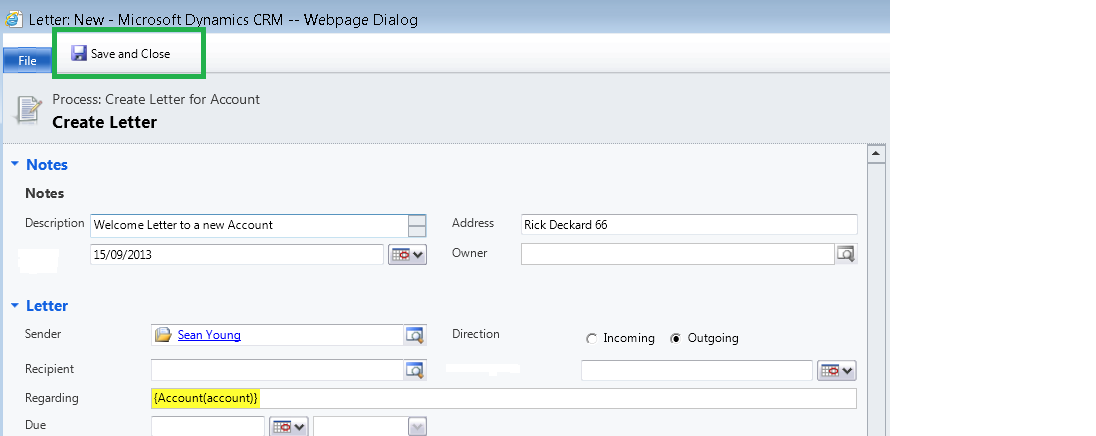
- When you are done, Save and Close the dialog:
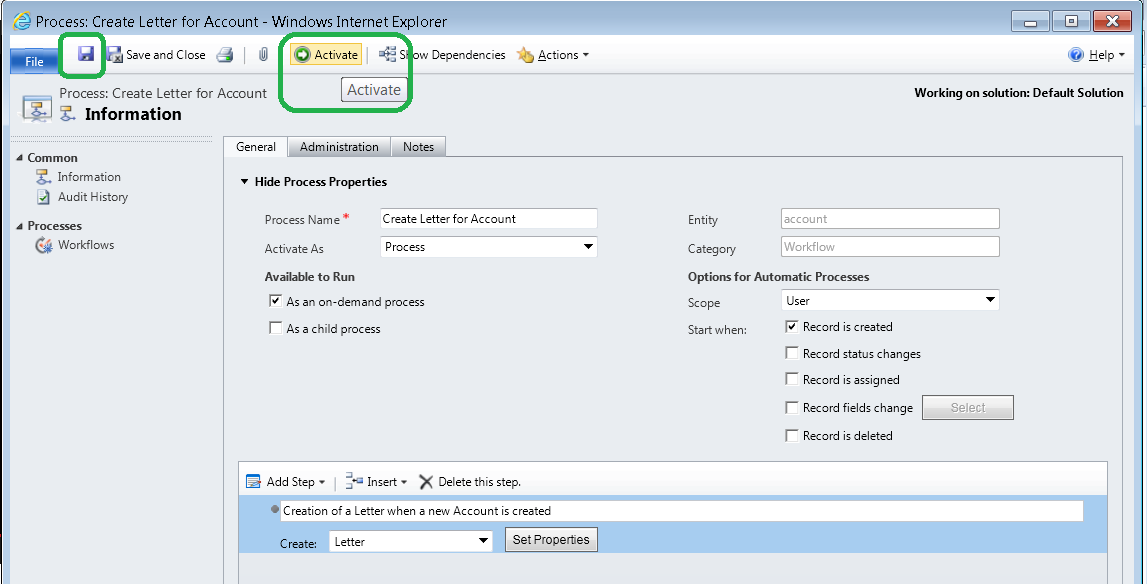
- Don't forget to activate the Workflow:
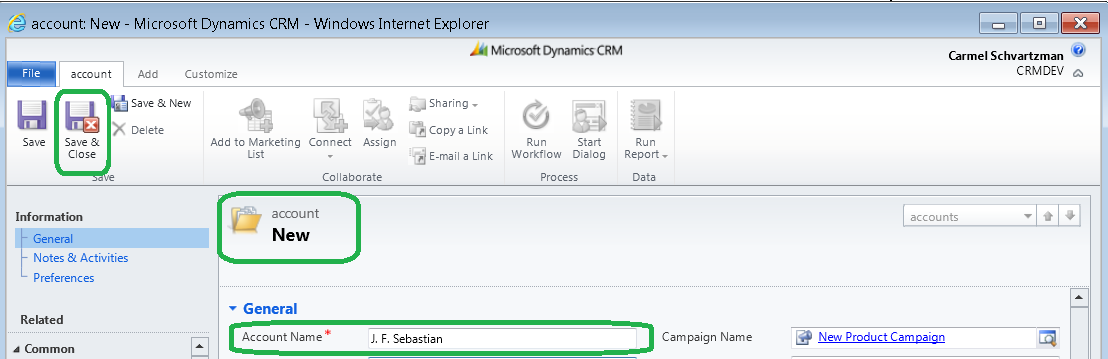
- Now let's create a new Account and see how it works:
- Now go to the Accounts list, and search for the Account we just created, to see the Letter attached to it. Go to the Advanced Search, and set the following search: "ACCOUNT NAME - CONTAINS - SEBASTIAN": (finally click on Results to see the required record)
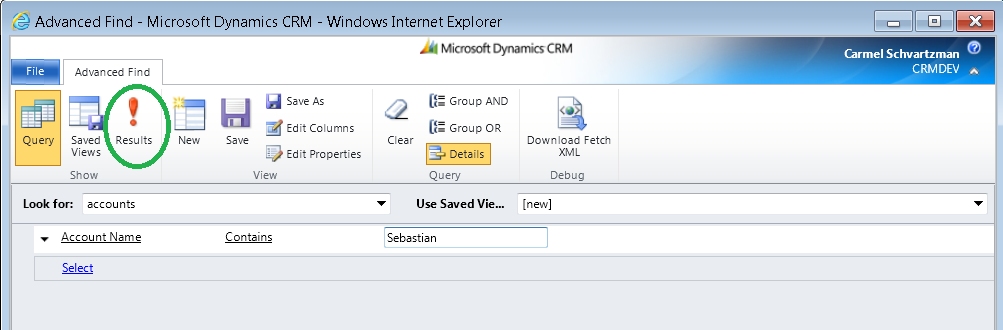
- We have found the new Account we just created:

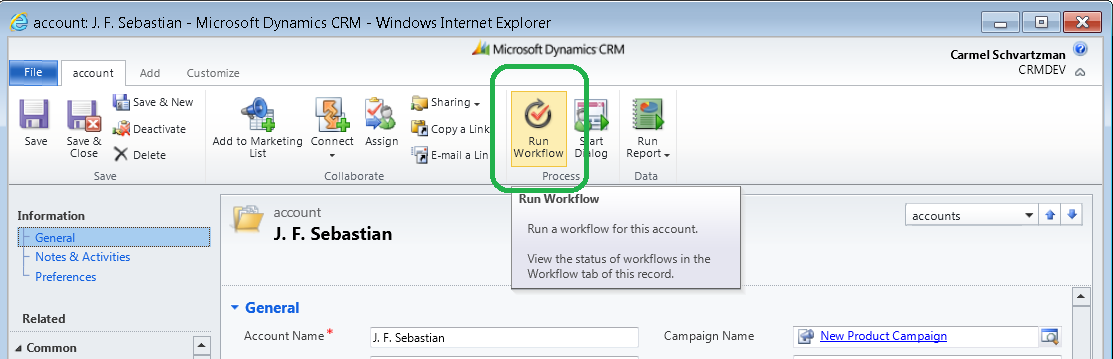
- On the Account, press "Run Workflow": that means it will run On Demand:
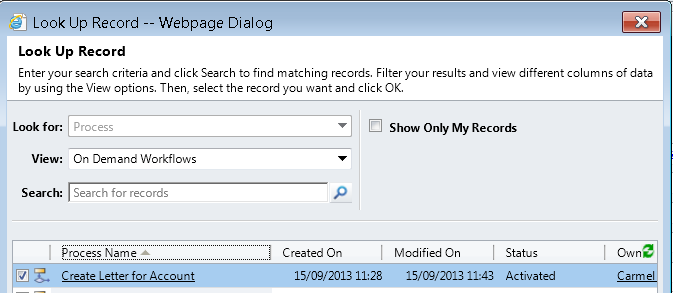
- On the Workflows dialog, select the Workflow we just designed:
- Now that we started the Wokflow, we want to check if it has finished:

- Lets check whether the workflow has finished its work:
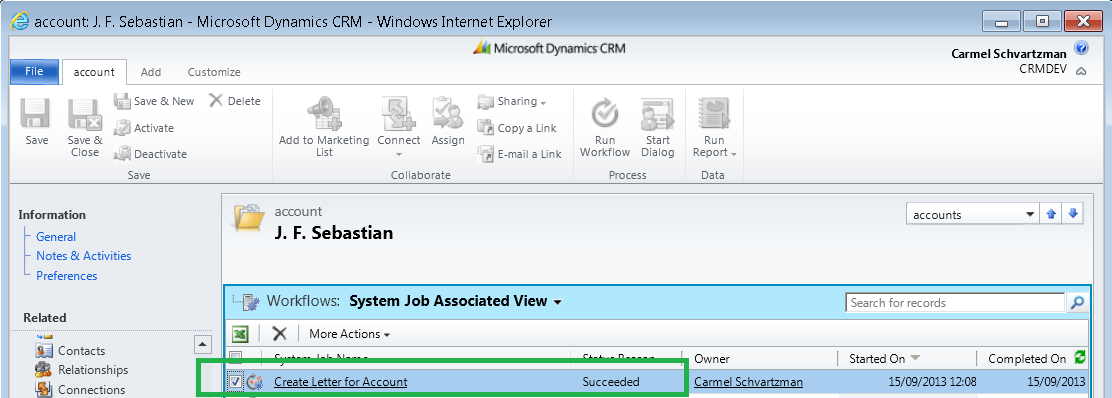
The status of the workflow is "Succeded": that means its done. - Now lets see the Letter created. So open the Account and then go to the Activities:
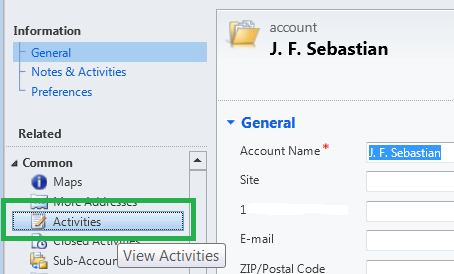
- There we will see the Letter that the Workflow created automatically On Demand:

- And Welcome to the Letter issued On Demand:
That's all...Enjoy Dynamics CRMכתב: כרמל שוורצמן CRM

No comments:
Post a Comment