by Carmel Schvartzman
- In this walkthrough we will learn Step-By-Step How-to develop an application to programmatically create a N:1 (MANY-TO-ONE) relationship in Dynamics CRM between two CRM entities: account and campaign. We assume that a campaign can spread on multiple accounts, therefore we'll create a MANY-TO-ONE relationship between ONE campaign to MANY accounts. In CRM 2011 we do that by adding a N:1 relationship at the account's dependencies. That means, when we are done, you could see an "Campaign" field on the Account's form holding a link to the Campaign this account is related.
- First we'll RETRIEVE instances of an entity, using a QUERY EXPRESSION . There are two ways in CRM 2011 to do so.You can choose between an LATE-BINDING and an EARLY-BINDING approach: in early binding we have compile-time checking of all types, but when coding late binding we get runtime checking, that means there is a check only when an object is created or when an action is performed on it.
To create all the types and entities existing in our CRM organization, CRM have a tool called CrmSvcUtil.exe, a code generation tool. We use it if we want to create EARLY-BOUND entity classes. The LATE-BOUND approach uses the Organization Service webservice of the CRM, which includes both data and metadata attributes. In this walkthrough we'll work with late-bound entities. To do so we'll develop a new project and use the OrganizationService in order to create new objects. - First, start VISUAL STUDIO 2010 and create a console project:
- To use the OrganizationService, we need to add references to the following assemblies:
(You'll find them in the Bin folder of the CRM 2011 SDK and in .NET tab of the ADD REFERENCES)
- Now change the target framework to .NET Framework 4:
- Next, we have to set up the webservice, using the Uri of the CRM organization webservice (its format is http://YOUR_CRM_SERVER/YOUR_CRM_ORGANIZATION/XrmServices/2011/Organization.svc):
- After we connect to our Organization webservice, we want to RETRIEVE an entity object. To do so we have three options:
1) create a QUERY EXPRESSION
2) use LINQ
3) use the FETCH XML query language
In this walkthrough we'll learn the first option.
IMPORTANT: when using the LATE BINDING approach, we need to use LOGIC entity names, not SCHEMA names(p.e. "account" but no "Account"). - We'll create a QUERY EXPRESSION, which works according to a FILTER that uses some pre-defined CONDITION. So first let's create that CONDITION. A condition includes an expression and its operators.
- Let's say for the sake of the example, that we want to retrieve all the accounts of customers called "David". If so, we need an SQL where-clause like this: "where name like '%David%'. Therefore we'll use the "LIKE" operator:

- Next we create the CONDITION expression: NAME + "LIKE" + "%David%":

- Now we can create the FILTER to get the required records: we just create a FilterExpression instance and set its Condition property to our condition previously stated:

11. Next we can explicit which fields of the entity we want to get, using an ColumnSet object:
12. Finally we call the RetrieveMultiple() method of the organization service, using our QueryExpression as a parameter:
13. And the method returns an EntityCollection containing all the records we requested.
14. The few next steps will be done on the CRM UI. Go to "Customize the System" and then to Entities. Find the "Account" entity and select "N:1 Relationships":
14. The few next steps will be done on the CRM UI. Go to "Customize the System" and then to Entities. Find the "Account" entity and select "N:1 Relationships":
Open the "Type" combo and select "Custom": this will filter only the relationships that you established:
You'll see there are no relationships yet. After we execute the next steps, you'll check again this tabble and see the new dependency created.
15. Now we create the account's field that will hold the relationship. Still at the "Account" properties, select the "FIELDS" option and click "NEW":
The following dialog will open:
At the NAME textbox add a "new_campaign" field: this will be the field that holds the related Campaign.
16. For the TYPE of the field select "Lookup":
17. And for the TARGET RECORD TYPE select the related entity, Campaign:
18. Slash the RELATIONSHIP NAME to make it more friendly:
19. Finally, Save and Close the dialog:
20. We are done. Now, if we go back to the "N:1 Relationships" table, we could see that automatically the CRM engine created for us a N:1 relationship between Account(RELATED ENTITY) to Campaign(PRIMARY ENTITY):
Finally , click "Publish All Customizations":
21. Now we can go back to our code. We already have the Accounts we want to relate to the new Campaign. So let's programmatically create the new entity for Campaign:

22. Next, we'll insert data in some fields of our election, and CREATE the entity:

Important: the GUID of the new entity returned by the Create method is kept for future use.
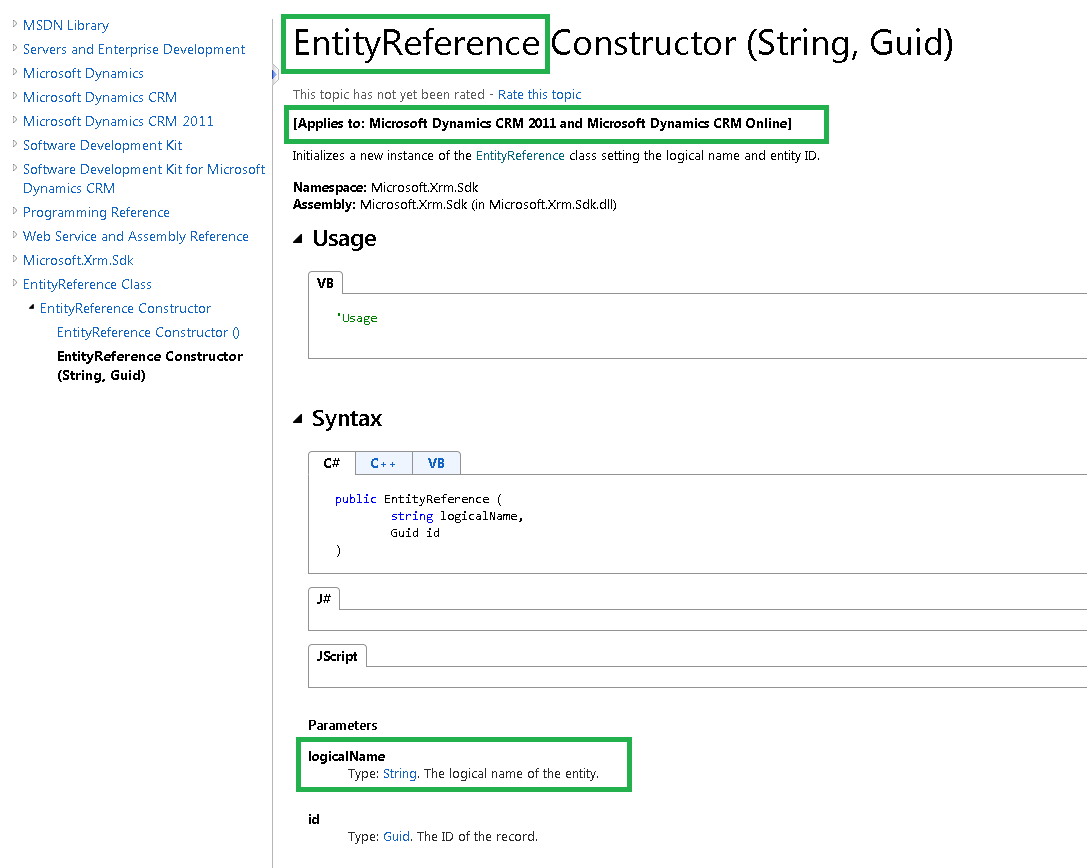
Notice we have to carefully set the FIELD logic name and the ENTITY logic name, according to the specification:

That means, the LOGIC NAME of the parent entity must be provided, together with its guid. The guid we saved at a former step; and the logic name can be pick up from the Campaign properties:
24. Finally, we Update() the Account entity to save the dependency
Now, in order to see the relationship on the Account form, we add the field "Campaign Name" to the Account form:
And if we open the Accounts we'll see the relationship programmatically added:
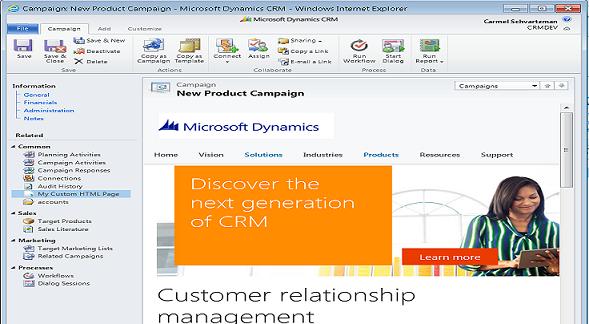
By clicking it we access to its related Campaign:
And that's all.
This tutorial is about how to programmatically create a N:1 (MANY-TO-ONE) relationship in Dynamics CRM.
Happy programming!!!!
כרמל שוורצמן


No comments:
Post a Comment